Co-authored-by: Ethan Palm <56270045+ethanpalm@users.noreply.github.com>
Co-authored-by: Mislav Marohnić <mislav@github.com>
Co-authored-by: Laura Coursen <lecoursen@github.com>
7.1 KiB
title, redirect_from, intro, versions, topics
| title | redirect_from | intro | versions | topics | ||||||||||||||
|---|---|---|---|---|---|---|---|---|---|---|---|---|---|---|---|---|---|---|
| Create a repo |
|
To put your project up on {% data variables.product.product_location %}, you'll need to create a repository for it to live in. |
|
|
Create a repository
{% ifversion fpt %}
You can store a variety of projects in {% data variables.product.product_name %} repositories, including open source projects. With open source projects, you can share code to make better, more reliable software. You can use repositories to collaborate with others and track your work. For more information, see "About repositories."
{% elsif ghes or ghae %}
You can store a variety of projects in {% data variables.product.product_name %} repositories, including innersource projects. With innersource, you can share code to make better, more reliable software. For more information on innersource, see {% data variables.product.company_short %}'s white paper "An introduction to innersource."
{% endif %}
{% ifversion fpt %}
{% note %}
Note: You can create public repositories for an open source project. When creating your public repository, make sure to include a license file that determines how you want your project to be shared with others. {% data reusables.open-source.open-source-guide-repositories %} {% data reusables.open-source.open-source-learning-lab %}
{% endnote %}
{% endif %}
{% include tool-switcher %}
{% webui %}
{% data reusables.repositories.create_new %}
2. Type a short, memorable name for your repository. For example, "hello-world".
 3. Optionally, add a description of your repository. For example, "My first repository on {% data variables.product.product_name %}."
 {% data reusables.repositories.choose-repo-visibility %}
{% data reusables.repositories.initialize-with-readme %}
{% data reusables.repositories.create-repo %}
{% data reusables.repositories.choose-repo-visibility %}
{% data reusables.repositories.initialize-with-readme %}
{% data reusables.repositories.create-repo %}
Congratulations! You've successfully created your first repository, and initialized it with a README file.
{% endwebui %}
{% cli %}
{% data reusables.cli.cli-learn-more %}
-
In the command line, navigate to the directory where you would like to create a local clone of your new project.
-
To create a repository for your project, use the
gh repo createsubcommand. Replaceproject-namewith the desired name for your repository. If you want your project to belong to an organization instead of to your user account, specify the organization name and project name withorganization-name/project-name.gh repo create <em>project-name</em> -
Follow the interactive prompts. To clone the repository locally, confirm yes when asked if you would like to clone the remote project directory. Alternatively, you can specify arguments to skip these prompts. For more information about possible arguments, see the {% data variables.product.prodname_cli %} manual.
{% endcli %}
Commit your first change
{% include tool-switcher %}
{% webui %}
A commit is like a snapshot of all the files in your project at a particular point in time.
When you created your new repository, you initialized it with a README file. README files are a great place to describe your project in more detail, or add some documentation such as how to install or use your project. The contents of your README file are automatically shown on the front page of your repository.
Let's commit a change to the README file.
- In your repository's list of files, click README.md.

- Above the file's content, click {% octicon "pencil" aria-label="The edit icon" %}.
- On the Edit file tab, type some information about yourself.
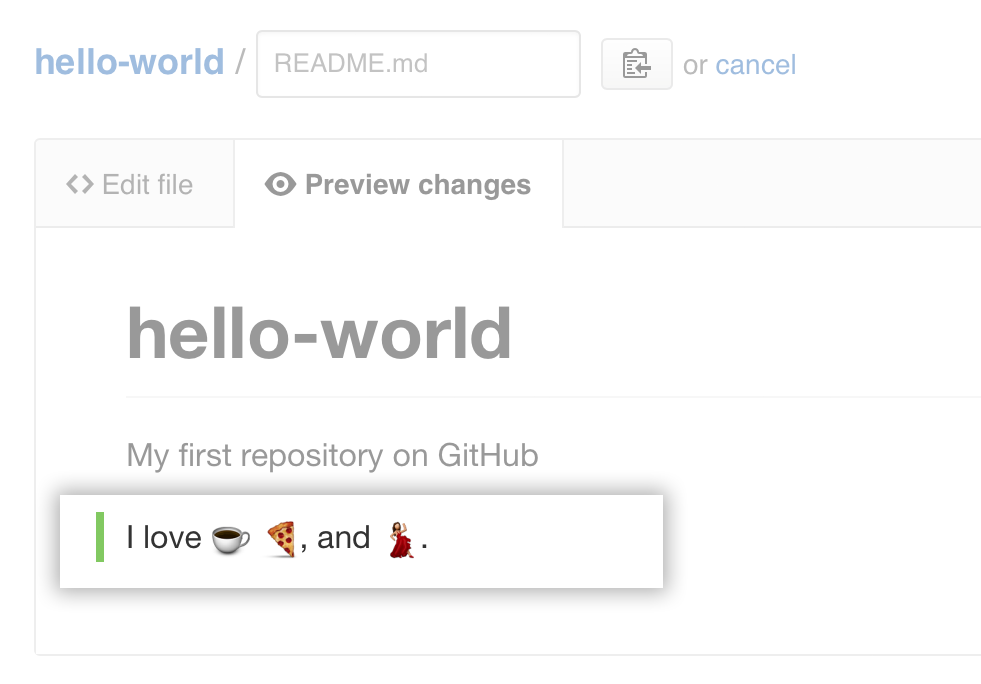
 {% data reusables.files.preview_change %}
 - Review the changes you made to the file. You'll see the new content in green.
 {% data reusables.files.write_commit_message %}
{% data reusables.files.choose_commit_branch %}
{% data reusables.files.propose_file_change %}
{% data reusables.files.write_commit_message %}
{% data reusables.files.choose_commit_branch %}
{% data reusables.files.propose_file_change %}


{% endwebui %}
{% cli %}
Now that you have created a project, you can start committing changes.
README files are a great place to describe your project in more detail, or add some documentation such as how to install or use your project. The contents of your README file are automatically shown on the front page of your repository. Follow these steps to add a README file.
-
In the command line, navigate to the root directory of your new project. (This directory was created when you ran the
gh repo createcommand.) -
Create a README file with some information about the project.
echo "info about this project" >> README.md -
Enter
git status. You will see that you have an untrackedREADME.mdfile.$ git status Untracked files: (use "git add <file>..." to include in what will be committed) README.md nothing added to commit but untracked files present (use "git add" to track) -
Stage and commit the file.
git add README.md && git commit -m "Add README" -
Push the changes to your branch.
git push --set-upstream origin HEAD
{% endcli %}
Celebrate
Congratulations! You have now created a repository, including a README file, and created your first commit on {% data variables.product.product_location %}.
{% webui %}
You can now clone a {% data variables.product.product_name %} repository to create a local copy on your computer. From your local repository you can commit, and create a pull request to update the changes in the upstream repository. For more information, see "Cloning a repository" and "Set up Git."
{% endwebui %}
You can find interesting projects and repositories on {% data variables.product.product_name %} and make changes to them by creating a fork of the repository. For more information see, "Fork a repository."
Each repository in {% data variables.product.product_name %} is owned by a person or an organization. You can interact with the people, repositories, and organizations by connecting and following them on {% data variables.product.product_name %}. For more information see "Be social."
{% data reusables.support.connect-in-the-forum-bootcamp %}